Today, I’m sharing the details of how to paint a small outdoor shed or building. We gave our storage shed a totally new look, and you won’t believe how easy it was!
I feel like I say this almost every time I tackle a big project like this, but sometimes I build projects up in my head to be a much bigger deal than they are. I had mentally set aside weeks to get this painting project done because it just seemed so big and daunting.
Guess how long it took me to paint our backyard shed?
About three hours on a Sunday afternoon (would have been less if I hadn’t made a big mistake – more on that in a minute), and another two hours on Monday during Grant’s nap.
That’s it!
This post is sponsored by Wagner, but all opinions and enthusiasm are mine alone. Thanks for supporting the brands that support Love & Renovations!
I’ve mentioned a few times that I am planning on painting the exterior of our house in the next couple of months, and I figured that if I was going to tackle a job that big I should probably get my feet wet with something a little easier first – enter the backyard shed.
This shed wasn’t offensive or ugly before – just kind of plain and nondescript. I knew that once the house was painted the off-white color would probably clash, so I decided to go all in and paint it something fun as a practice run for painting the house.
Yes, I recognize that a tiny shed is the most pathetic practice run every for painting an entire house, but I’m working with what I’ve got here.
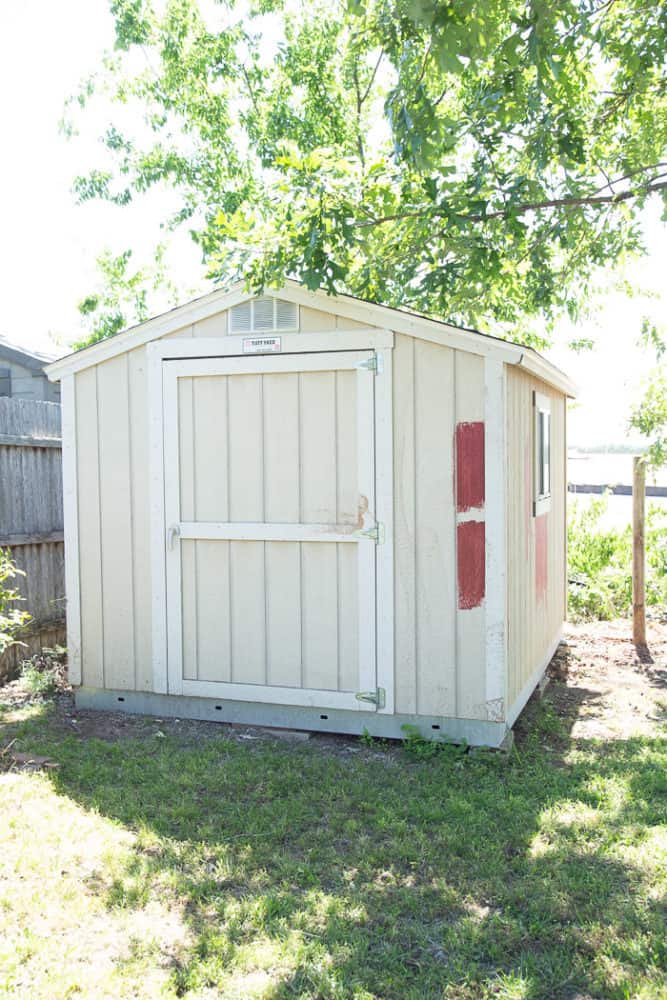
Here’s a reminder of what the shed used to look like – it just looked a little dingy and dirty, but it wasn’t terrible (like, for example, the before of our workshop in the last house!). Please excuse the paint samples on it – I didn’t really take a proper before photo. We decided to go with a barn red color partially because it’s just a fun pop of color in the backyard, but also as kind of an homage to our roots and our dreams. We don’t exactly live in the country, but in our part of Texas it’s pretty common to see sprawling land with gorgeous homes and little red barns. We dream of someday owning some of that sprawling land, so having a tiny red shed in our backyard feels like a sweet reminder of what we’re working towards.
The process of painting an exterior building is honestly not all that different from painting anything else. You clean, you prep, you paint, and you’re done. But, for some reason, exterior projects just seem so big and scary. So, I’m here to break it down a bit and share how you can tackle painting a small outdoor building in a weekend without even breaking a sweat.
We’ll see if I’m still talking about how simple it is when I come back to talk about painting the house. Cross your fingers for me.
How to Paint an outdoor building
First up, there are a few things you’ll need in your arsenal that will make the job a lot easier. Technically you don’t need anything other than a paintbrush and some paint to knock this job out, but if you want to get it done quickly, efficiently, and with as little mess as possible, the following items will be a huge help.
Recommended Materials
- Painter’s tape with attached plastic drop cloth. I don’t normally go for this brand of painter’s tape (I’m a green girl!), but the attached drop cloth is a life saver on paint jobs like this. I wouldn’t dream of tackling this kind of project without this stuff.
- A paint sprayer. More on this in a minute, but if you have a big exterior paint job, it’s worth it to invest in a sprayer made specifically for these kind of jobs.
- The right paint. I generally don’t use any other brand of paint – this stuff is the best and I drive an extra 15 minutes to get it every time I have a painting job.
- A good paintbrush. This is my go-to paintbrush for any job – I love the flexible handle, the high-quality bristles, and how comfortable it is to hold for long periods of time.
- This secret weapon for big jobs. I love using this when I know I’ll be up and down on stepladders or moving around a lot. It makes painting much less of a headache.
Preparation and cleaning
The first step of any painting project is cleaning and prep work. I power washed the entire shed a few days before I planned on painting. Some of the paint was chipped away while I power washed, but that’s okay – I wanted to get rid of any loose paint anyways.
After the shed had a couple of days to dry, it was time for my prep work. The first step was to check the weather – it’s our rainy season here in Austin and there have been a few big storms lately. Don’t even try to get started until you know you’ll have a few days in a row of (relatively) good weather.
To prepare the shed for painting, I started by taping off all of the trim with my dropcloth tape. On a bigger job (like our house), I might use the sprayer for the trim as well, but since there was such a small amount of it on this building I figured it wasn’t worth the extra setup and cleanup of the paint sprayer. It ended up only taking me about an hour and a half to paint all of the trim by hand, so I think it was the right choice in this case!
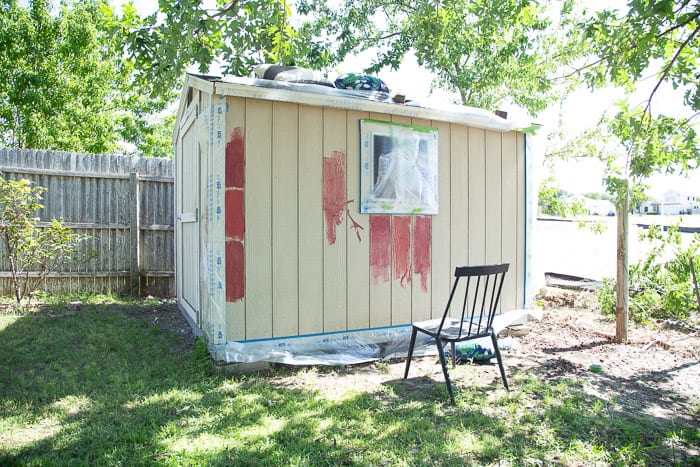
This part of the project will feel like it’s taking forever (and it is!), but just know that you’re saving a ton of work later on by putting in this extra effort. Be sure to thoroughly cover anything that you don’t want paint to get on, and take your time with this part of the process.
To make it a little less tedious for myself, I worked one side at a time – I’d tape off all of the trim, then paint that side. Then, I’d move to the next side and tape off. This may not be the most logical solution for a larger building, but for this small space it worked well and kept me from getting too bored (and therefore sloppy) with my prep work.
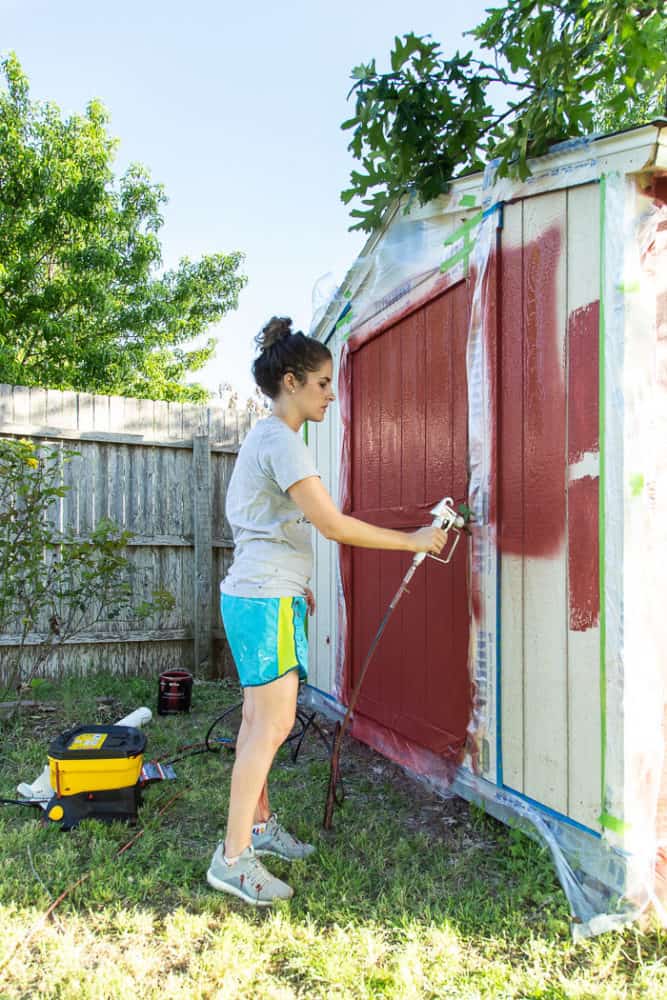
Using a Paint sprayer for an exterior building
Now comes the fun part – painting!
I used a new-to-me paint sprayer for this job – it was my first time ever using an airless sprayer, and it would be an understatement to say I was intimidated by it.
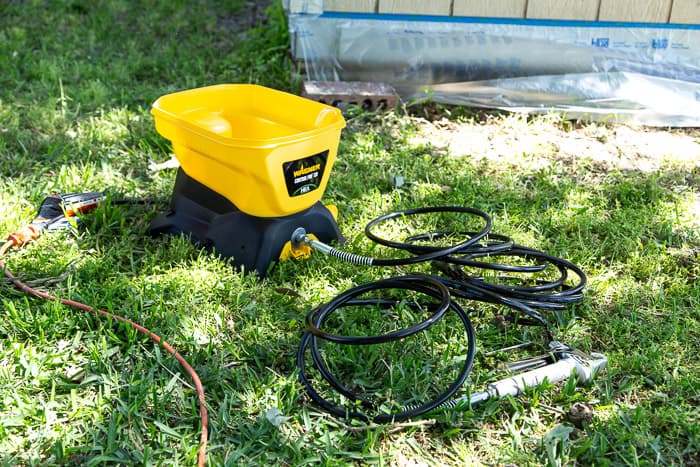
Thankfully, I quickly learned I had no reason to be scared. Wagner’s Control Pro 130 is a great option for someone like me who likes to dabble in larger projects but doesn’t want to invest in a professional paint sprayer.
So, what’s the difference between the Wagner Control Pro 130 and the paint sprayer I typically use?
The Control Pro is a high-efficiency airless sprayer, which is a much more powerful type of sprayer than your regular air-powered sprayer. It sprays more paint at a time, sprays much faster, and can cover really large areas in a short amount of time. It’s perfect for painting or staining decks and fencing, or painting exterior buildings!
The beauty of this sprayer, though, is that it doesn’t come with all of the intimidation that most airless sprayers come with. It’s simple to set up, intuitive to use, and has up to 55% less overspray than most airless sprayers! I looked around in the yard after I finished painting the shed and could see zero overspray in the grass, on the nearby fence, or anywhere else in the vicinity, so I was definitely impressed.
The Control Pro 130 holds up to 1.5 gallons at a time and has a 25-foot hose – which means it’s great for two-story homes! This thing is seriously quick and powerful – it can cover an 8X10 wall in about two minutes. After painting the shed, I’m much less intimidated about getting started on the whole house – this sprayer is so simple to use and I have a feeling it won’t take me nearly as long as I had originally imagined it would.
Important notes:
There are a few things I’d want to make sure you know about using an air sprayer before you dive in:
- Be sure to use a wrench to tighten the hose to the machine and to the spray tip. I skipped digging the wrench out because I figured tightening it by hand would be fine – I was wrong and had almost an entire gallon of paint leak out of the sprayer before I realized how wrong I was. Whoops! I make these mistakes so you don’t have to, my friends.
- I’ll admit that the cleanup for an airless sprayer is notably more annoying than it is for a regular paint sprayer, but it’s still not that awful. Just follow the directions step-by-step and you’ll be fine!
- I know that it’s tempting to balk at the idea of buying a new paint sprayer that you’ll only use for a few projects. But remember that you’re saving an incredible amount of money by doing a job like this on your own. It costs thousands and thousands of dollars to have your home painted, but just a few hundred to tackle it yourself.
- You’ll want to hold your hand a bit further back when using an airless sprayer. With most sprayers you want to be a maximum of 6-8 inches away from your project, but with this guy you need to be 10-12 inches away. The spray pattern is much larger and it sprays much more paint, so getting too close can cause issues. You’ll also need to move a bit faster than you do with a smaller sprayer – again, there’s more material coming out, so you need to move quickly!
- Don’t forget to overlap your spray runs by about 50%. This gives you better coverage and can help avoid needing a second coat (especially if you’re using a high-quality paint).
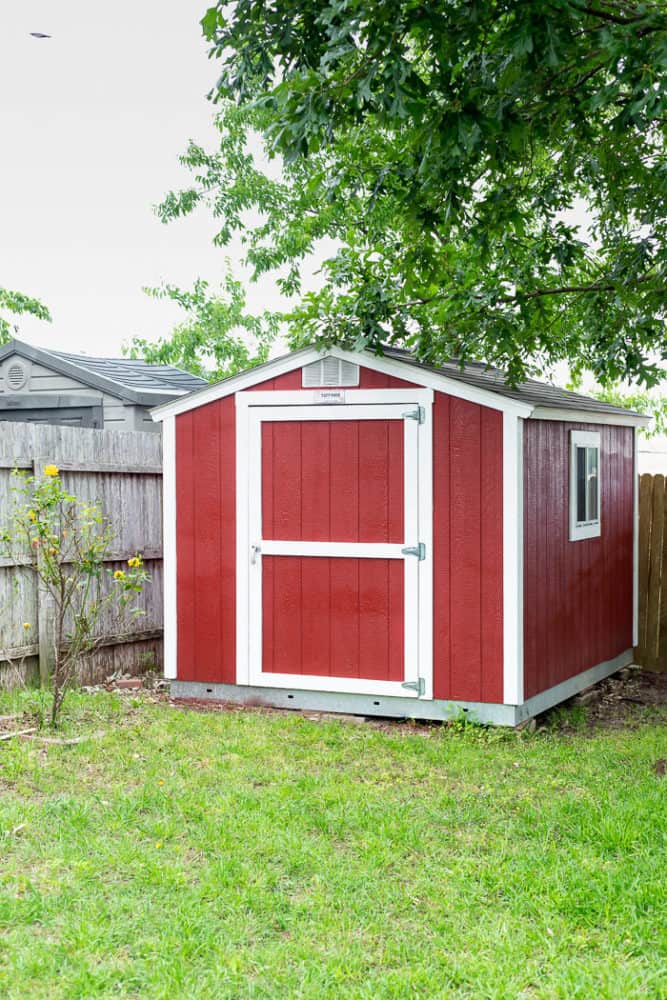

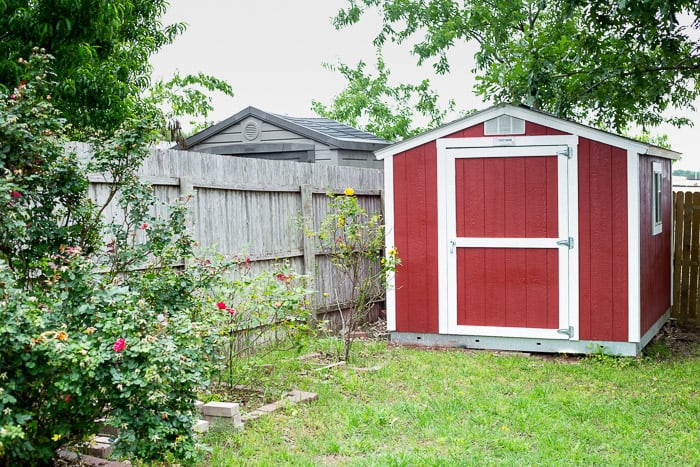
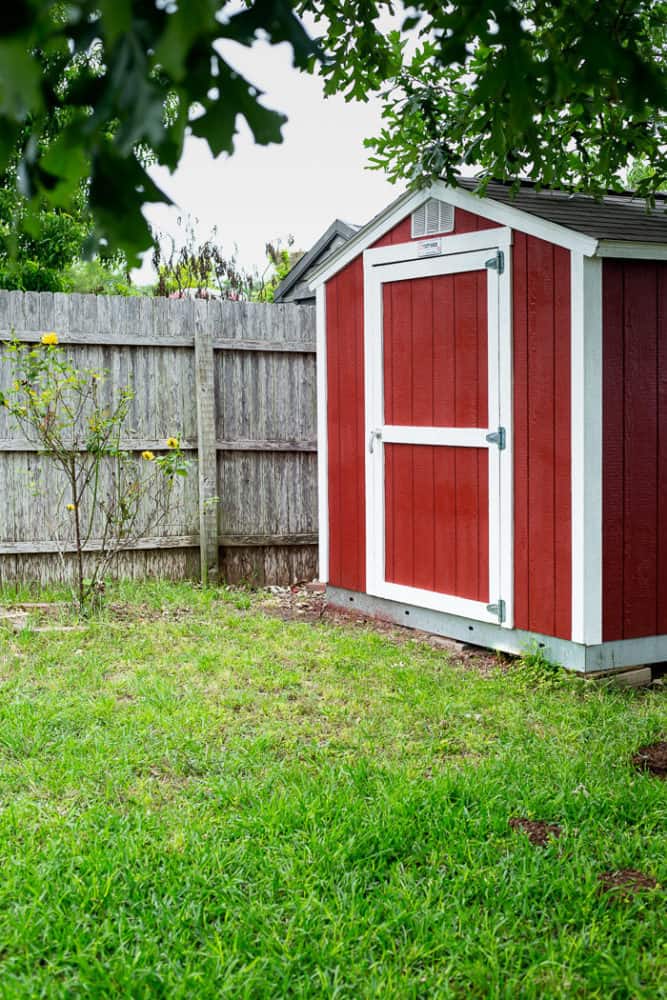
After taking this project on I’m feeling really excited to get started on our house! I’m hoping to have an update for you next month – cross your fingers for me. But, in the meantime, I’ll just be enjoying the view of our gorgeous red shed.
Have you ever painted an exterior building? Would you ever try it? I highly recommend you check out Wagner’s Control Pro 130 if you have a big project coming up!
The post Painting Our Outdoor Shed appeared first on Love & Renovations.


